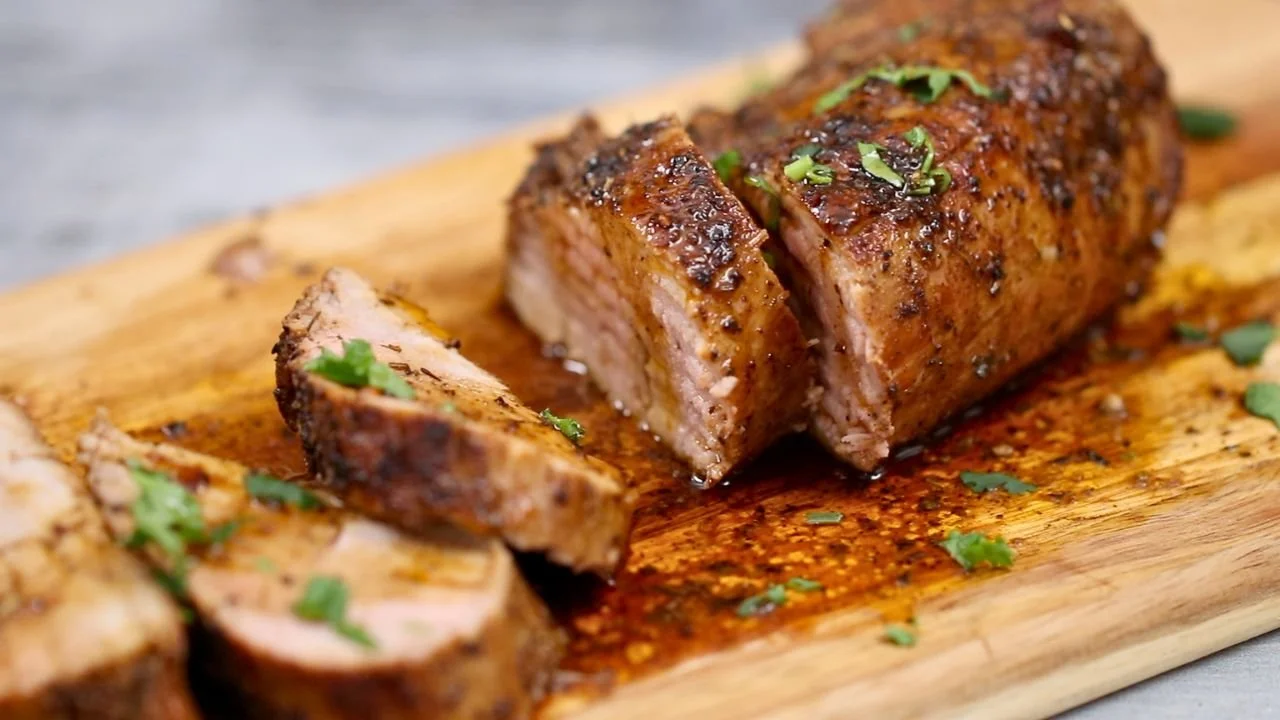
Pork tenderloin is the leanest, most tender cut on the whole pig — but that leanness is exactly why so many people end up with dry, chalky meat. The fix is simpler than you think: a quick brine, a hard sear in a screaming-hot skillet, and a short finish in a 400-degree oven. The result is juicy, golden-brown tenderloin that stays moist from edge to center. Once you nail this method, dry pork tenderloin becomes a thing of the past.
About This Recipe
Here's something that'll blow your mind: pork tenderloin wasn't always the lean cut we know today. Until the 1980s, American pigs were bred for fat content, and tenderloin was actually marbled with enough intramuscular fat to stay moist during cooking. But when health trends demanded leaner meat, breeding changed everything. Modern pork tenderloin has 75% less fat than its predecessors, which is why so many home cooks struggle with dryness today. This shift happened so gradually that most recipes never adapted their techniques. The old "cook until white throughout" advice that worked for fatty pork became a disaster for today's ultra-lean tenderloins. That's why I always tell people to forget everything they think they know about cooking pork. The tenderloin on your cutting board is fundamentally different from what your grandmother cooked, and it demands modern techniques like lower temperatures, careful timing, and proper resting to achieve the juicy results we're all chasing.
Ingredients for Never Make Dry Pork Tenderloin
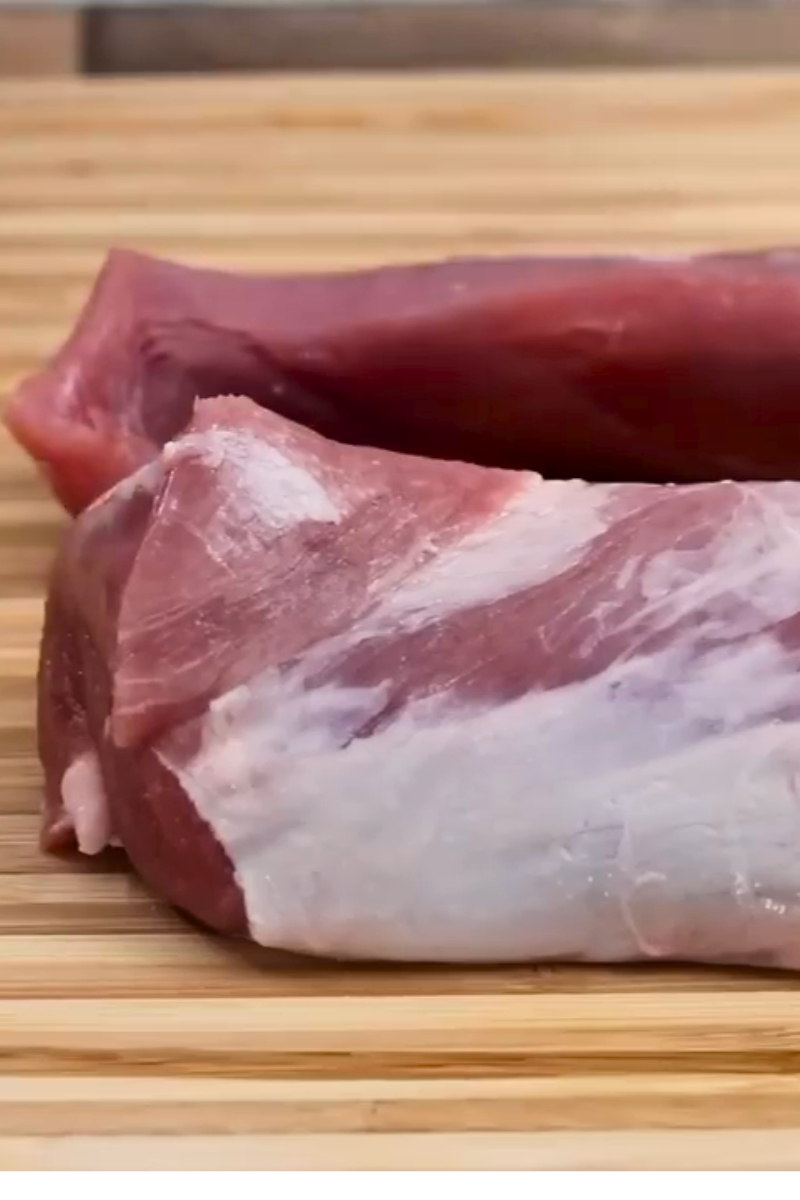
- 2 pork tenderloins (about 1 lb each)
- 2 tablespoons olive oil
- 2 tablespoons Dijon mustard
- 3 cloves garlic, minced
- 1 tablespoon fresh rosemary, chopped
- 1 tablespoon fresh thyme, chopped
- 1 teaspoon smoked paprika
- 1 teaspoon salt
- ½ teaspoon black pepper
- 2 tablespoons honey
- 2 tablespoons butter
Substitutions & Variations
- Dijon mustard: Use yellow mustard mixed with a pinch of ground mustard seed, or try a Caribbean-style mustard with scotch bonnet pepper for heat. This creates a spicier, more tropical flavor profile that pairs beautifully with the pork's richness.
- Fresh rosemary and thyme: Substitute with Dominican oregano (orégano poleo) and fresh cilantro for an island twist. This combination brings the herbaceous, citrusy notes common in Caribbean marinades and seasoning blends.
- Smoked paprika: Replace with sazón con culantro y achiote or plain achiote powder for authentic Dominican color and flavor. The achiote adds an earthy, slightly peppery taste with that signature orange-red color beloved in Caribbean cooking.
- Honey: Use brown sugar or coconut sugar mixed with a splash of rum for a Caribbean glaze. This creates a deeper molasses note with subtle rum undertones that caramelize beautifully on the pork.
- Olive oil: Substitute with coconut oil for searing to add subtle tropical flavor that complements Caribbean seasonings. The coconut oil's higher smoke point also helps achieve better browning on the tenderloin.
- Garlic: Create a sofrito base by blending the garlic with bell peppers, onion, and cilantro instead of just mincing. This Dominican cooking technique infuses the pork with more complex, layered flavors than garlic alone.
How to Make Never Make Dry Pork Tenderloin
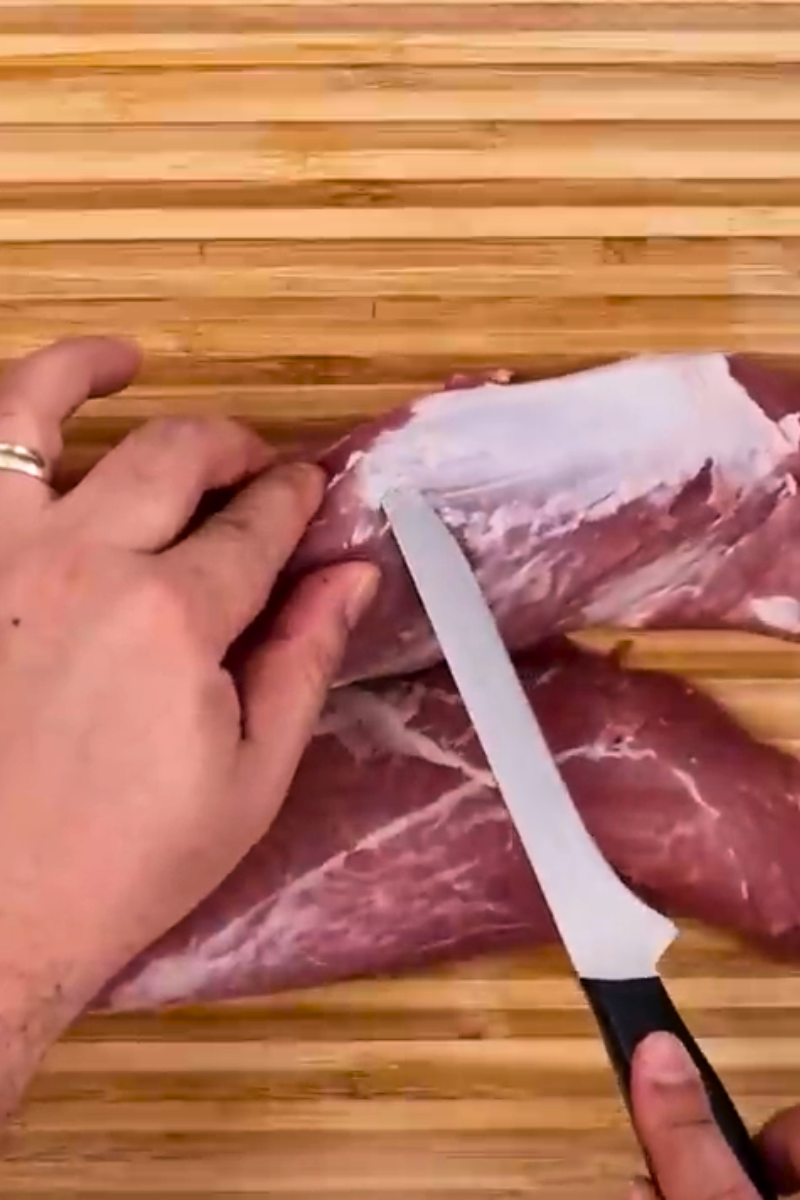
- Trim the silver skin from the pork tenderloins. Pat dry with paper towels.
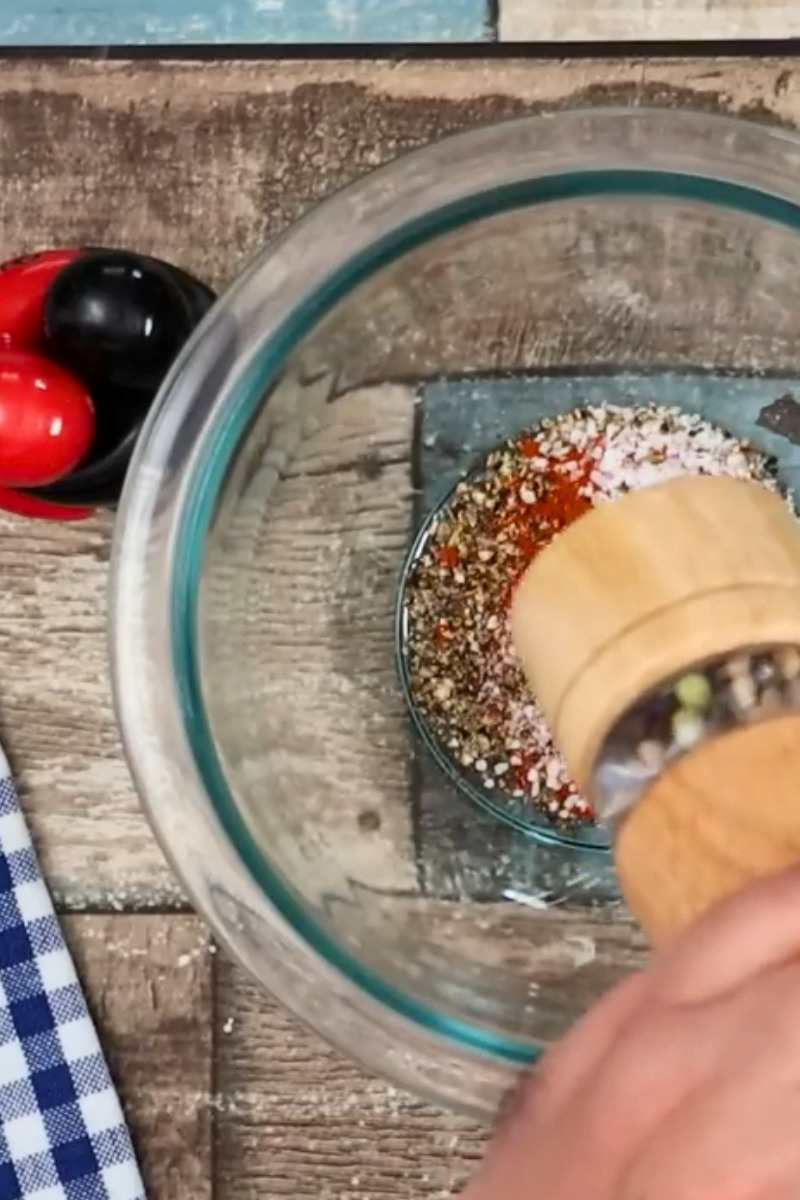
- Mix Dijon mustard, garlic, rosemary, thyme, paprika, salt, and pepper into a paste. Rub all over the tenderloins.
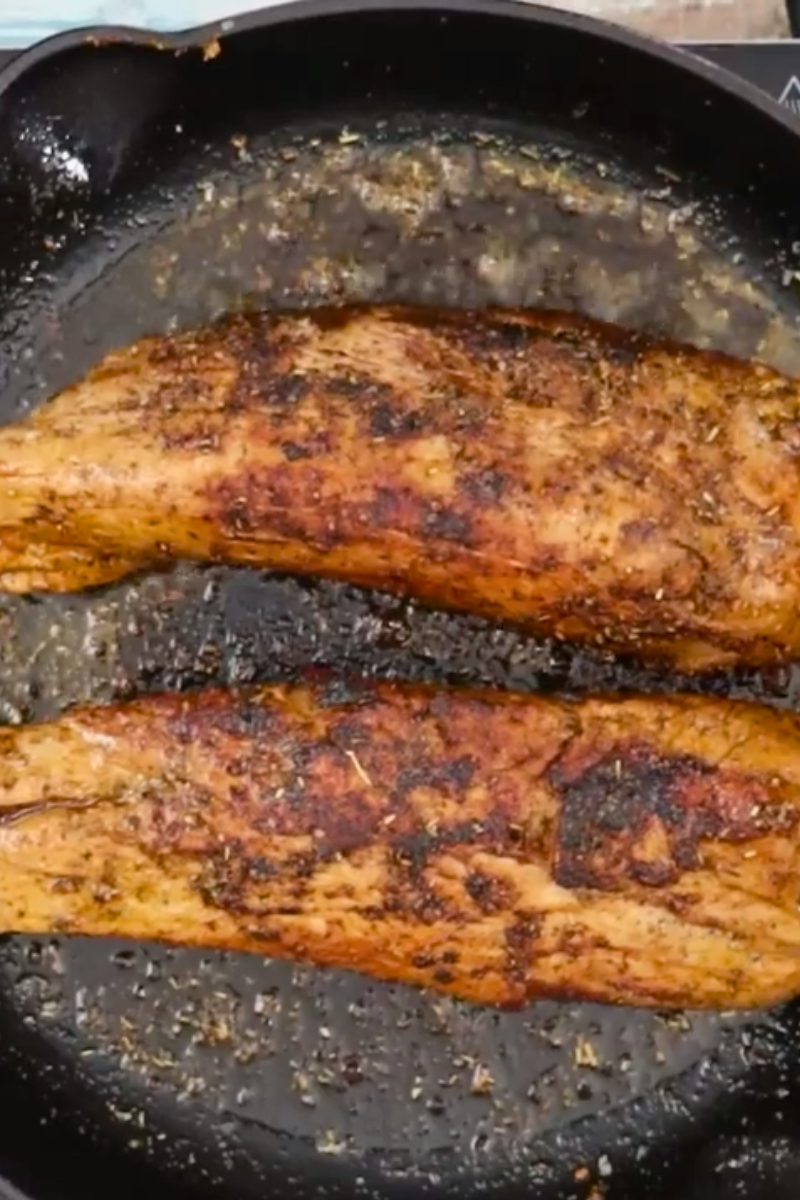
- Heat olive oil in an oven-safe skillet over medium-high heat. Sear the tenderloins on all sides until golden brown, about 2-3 minutes per side.
- Transfer the skillet to a preheated 400°F oven. Roast for 15-20 minutes until the internal temperature reaches 145°F.
- Remove from oven. Add butter and honey to the pan and baste the tenderloins.
- Rest for 10 minutes before slicing into medallions. The temperature will carry over to a safe 145°F. Drizzle with pan juices and serve.
What to Serve With Never Make Dry Pork Tenderloin
This juicy pork practically begs for my Dominican-style yuca with garlic mojo - the creamy, starchy root vegetable soaks up those beautiful pan juices while the bright citrus cuts through the richness. It's how my abuela would have served it, and trust me, she knew what she was doing.
The sweet, caramelized exterior on this tenderloin pairs beautifully with something sharp and acidic like my quick-pickled red onions. Those tangy, crunchy ribbons wake up your palate between bites of the rich pork, creating the perfect flavor balance that keeps you coming back for more.
For something completely different, try serving thick slices alongside creamy polenta with roasted mushrooms. The earthy fungi echo the herbs in your pork seasoning, while the smooth polenta provides a luxurious base that makes this feel like a proper restaurant dish.
Frequently Asked Questions
1. Why does pork tenderloin dry out so easily?
Pork tenderloin is extremely lean — almost no intramuscular fat to keep it moist. Every degree past 145 internal dries it out significantly. Precision is essential with this cut.
2. What is the most important tip for juicy tenderloin?
Use a meat thermometer and pull at 140 degrees. Let it rest 8 minutes — carryover heat brings it to a safe 145. This single technique transforms dry tenderloin into juicy perfection.
3. Should I brine pork tenderloin?
Yes — brining is the best insurance policy against dryness. A 30-minute soak in salted water or an overnight dry brine adds moisture that stays in the meat during cooking.
4. What cooking method keeps tenderloin juiciest?
Sear all sides in a hot skillet for 2-3 minutes each, then finish in a 400 degree oven for 15-18 minutes. The sear locks in moisture while the oven gently finishes cooking.
5. Should I remove the silver skin?
Always — the silvery membrane does not break down during cooking and contracts, squeezing moisture out of the meat. Removing it is essential for tender, juicy results.
6. What temperature should the oven be?
400 degrees after an initial stovetop sear. This moderate-high heat cooks the lean tenderloin quickly enough to stay moist without the exterior drying out before the center finishes.
7. How long does pork tenderloin need to rest?
8-10 minutes loosely tented with foil. This is critical — the juices redistribute throughout the meat. Cutting too soon sends them flooding onto the cutting board.
8. Is it safe to eat pork at 145 degrees?
Yes — the USDA updated their guidelines in 2011. Pork at 145 degrees with a 3-minute rest is completely safe. The meat may be slightly pink inside, which is perfectly normal and desirable.
9. What glazes or sauces prevent dryness?
A honey garlic glaze, Dijon herb crust, or balsamic reduction applied during cooking creates a protective layer that seals in moisture while adding flavor.
10. How do I slice pork tenderloin?
After resting, slice crosswise into ½-inch thick medallions against the grain. Fan on a platter and drizzle with any accumulated pan juices for the most attractive presentation.
Never Make Dry Pork Tenderloin Again
Ingredients
Method
- Start with two pork tenderloins, about 1 lb each. Look for a pale pink color with minimal silverskin.

- Trim the silver skin from the pork tenderloins. Pat dry with paper towels.
- Mix Dijon mustard, garlic, rosemary, thyme, paprika, salt, and pepper into a paste. Rub all over the tenderloins.
- Heat olive oil in an oven-safe skillet over medium-high heat. Sear the tenderloins on all sides until golden brown, about 2-3 minutes per side.
- Transfer the skillet to a preheated 400°F oven. Roast for 15-20 minutes until the internal temperature reaches 145°F.
- Remove from oven. Add butter and honey to the pan and baste the tenderloins.
- Rest for 10 minutes before slicing into medallions. The temperature will carry over to a safe 145°F. Drizzle with pan juices and serve.
Nutrition
Video
Notes
Choose tenderloins that feel firm but not rock-hard when pressed, and avoid any with dark spots or excessive silver skin. The best ones have a slight pink blush and uniform thickness - this ensures even cooking and tells you the meat is fresh enough to safely cook to a perfect medium. Always sear at medium-high heat for exactly 2-3 minutes per side before roasting. This creates the Maillard reaction that locks in flavor compounds, but going too hot will char the outside before the inside reaches temperature, leaving you with burnt edges and raw centers. Pull your tenderloin at 140°F internal temperature, not the USDA's 145°F. I've cooked hundreds of these, and that extra 5 degrees means the difference between succulent and sawdust. Carryover cooking will bring it to a safe 145°F while resting, giving you perfectly pink, juicy meat. Let the meat rest for exactly 10 minutes after cooking, then slice against the grain at a 45-degree angle in ½-inch thick pieces. This technique breaks down the muscle fibers and creates maximum surface area for your pan sauce to cling to, making every bite more flavorful and tender. Storage & Meal Prep: Refrigerator: Store sliced or whole leftover tenderloin in an airtight container for up to 3–4 days. Pour any pan juices over the meat before sealing to keep it moist. Freezer: Wrap individual portions tightly in plastic wrap, then place in a freezer-safe bag. Keeps well for up to 2–3 months. Thaw overnight in the refrigerator before reheating. Reheating: Warm slices gently in a skillet over medium heat with a splash of broth or pan juices to prevent drying out. You can also microwave in 30-second intervals or reheat in a 350°F oven until warmed through. Meal Prep Idea: Slice the cooled tenderloin into medallions and portion into containers with roasted vegetables or rice for easy grab-and-go lunches all week.
Leave a Reply