This How to Can Peaches at Home (Step-by-Step Water Bath Method) is one of those recipes you'll find yourself making over and over again. It's simple, delicious, and always gets rave reviews. Whether you're a beginner or a seasoned cook, you're going to love how easy and tasty this turns out!
About This Recipe
Here's what most home canners don't realize: peach varieties fall into two categories that drastically affect your canning success. Freestone peaches (where the pit separates easily) and clingstone peaches (where the flesh clings to the pit) behave completely differently during water bath canning. Clingstone varieties like Red Haven actually hold their shape better during the high-heat canning process because their denser flesh structure resists breaking down. However, they're a nightmare to prep since you'll be wrestling with stubborn pits. Freestone varieties like Elberta are easier to pit and slice, but their softer flesh can turn mushy if you overcook them even by a few minutes. The sweet spot? Look for semi-freestone varieties like Cresthaven – they give you easier prep work while maintaining that perfect tender-but-firm texture that makes home-canned peaches superior to store-bought. When I'm sourcing peaches for canning, I actually prefer slightly underripe freestones over perfectly ripe ones because they'll finish cooking in the jar and maintain better texture.
Ingredients for How to Can Peaches at Home (Step-by-Step Water Bath Method)
- Fresh ripe peaches — freestone are easiest
- Sugar — for syrup — optional
- Water or juice — for syrup base
- Lemon juice — for preserving color
- Large pot — for blanching
- Mason jars + lids
- Tongs or jar lifter
- Funnel
- Clean towels
- Ladle
How to Make How to Can Peaches at Home (Step-by-Step Water Bath Method)
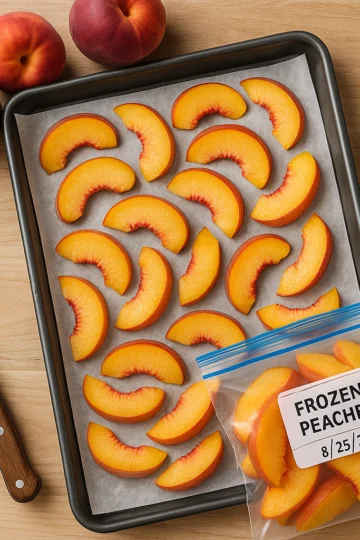
- Wash peaches thoroughly. Blanch in boiling water for 60 seconds, then transfer to ice water. Peel the skins off, halve, and remove pits.
- In a large pot, combine water and sugar. Bring to a boil, stirring until sugar dissolves.
- Pack peach halves into sterilized canning jars, cavity side down. Leave ½ inch headspace.
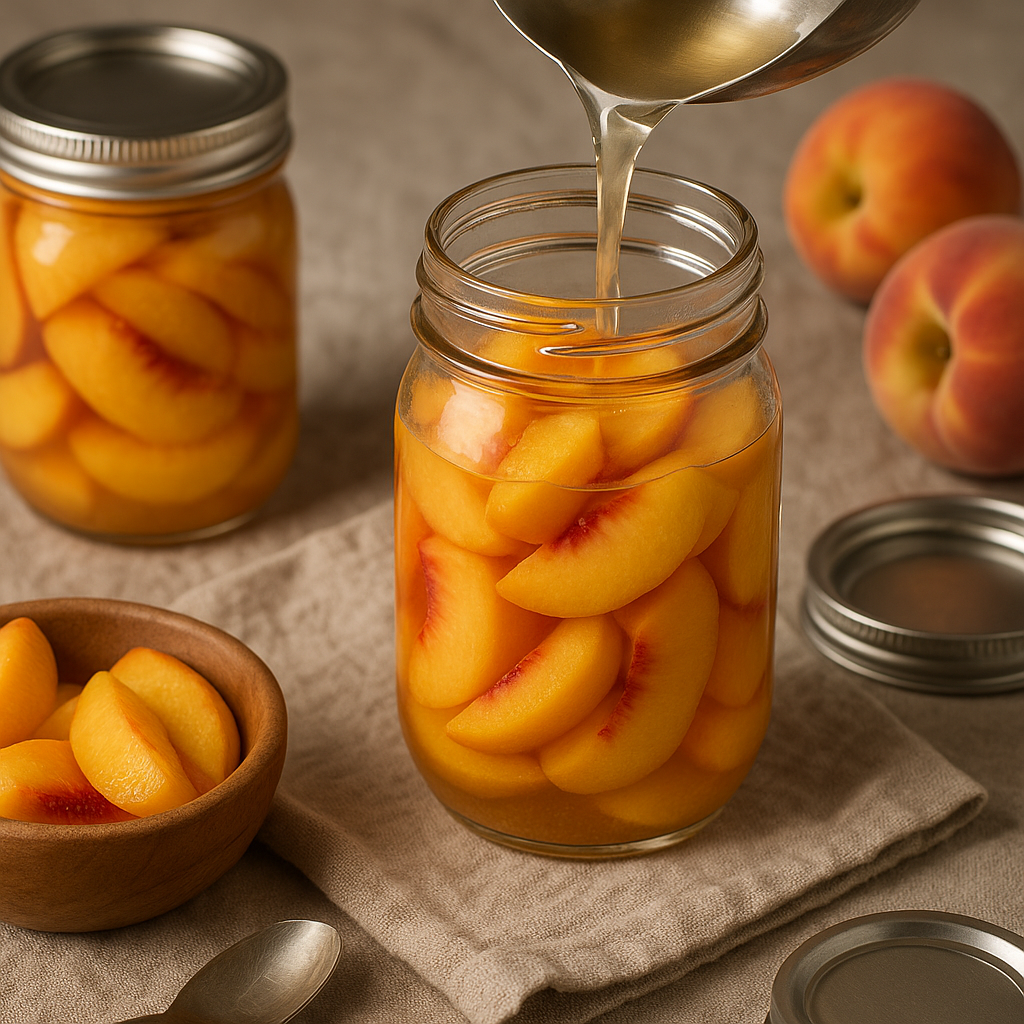
- Ladle hot syrup over the peaches. Remove air bubbles with a butter knife.
- Wipe jar rims clean. Place lids and screw on bands until fingertip tight.
- Place jars in a boiling water bath canner. Process pint jars for 25 minutes and quart jars for 30 minutes.
- Remove jars and let cool for 12-24 hours. Check seals, then store in a cool dark place for up to 1 year.
What to Serve With How to Can Peaches at Home (Step-by-Step Water Bath Method)
These golden canned peaches are absolutely divine over a bowl of creamy tres leches cake - the fruit's natural sweetness balances the rich, milky dessert perfectly. The soft texture of both elements creates this luxurious, melt-in-your-mouth experience that feels like pure comfort.
For breakfast, I love spooning my canned peaches over warm oatmeal with a drizzle of honey and chopped toasted almonds. The contrast between the tender fruit and crunchy nuts gives you textural interest, while the natural peach syrup sweetens everything without being overwhelming.
My Dominican rice pudding gets an incredible upgrade when you fold in these home-canned peaches during the last few minutes of cooking. The fruit's gentle acidity cuts through the creamy rice beautifully, and it's a tradition that reminds me of summer Sunday dinners with family.
Frequently Asked Questions
1. What type of peaches are best for canning?
Freestone peaches are easiest — the pit separates cleanly from the flesh. Clingstone peaches have better flavor but require more effort to pit. Both can beautifully.
2. Do I need a pressure canner for peaches?
No — peaches are high-acid fruit and can be safely processed in a boiling water bath canner. This is the simplest home canning method and requires no special equipment beyond a large pot.
3. How long do I process peach jars in the water bath?
Pint jars for 25 minutes and quart jars for 30 minutes in a rolling boil water bath. Adjust time by adding 1 minute per 1,000 feet above sea level.
4. What liquid should I pack the peaches in?
Light syrup (2 cups sugar per 4 cups water) is the most popular. Water or fruit juice work for less sweet results. Heavy syrup makes them very sweet but preserves color best.
5. How do I peel peaches easily?
Score an X on the bottom, blanch in boiling water for 30-60 seconds, then plunge into ice water. The skins slip right off. This technique works for any quantity.
6. Do I need to add lemon juice to canned peaches?
Yes — add 1 tablespoon bottled lemon juice per pint jar to ensure safe acidity. This prevents botulism growth. Use bottled (not fresh) lemon juice for consistent acid levels.
7. How do I prevent the peaches from browning?
Dip peeled peaches in a mixture of water and lemon juice or ascorbic acid solution immediately after peeling. This prevents enzymatic browning while you prep the remaining fruit.
8. How do I know if the jars sealed properly?
After cooling 12-24 hours, press the center of each lid. If it does not flex or pop, the seal is good. Unsealed jars should be refrigerated and used within 2 weeks.
9. How long do home-canned peaches last?
Properly sealed and stored in a cool, dark place, home-canned peaches last 12-18 months. They are safe beyond that but quality and color may decline. Always check seals before using.
10. How many pounds of peaches do I need per jar?
About 2-3 pounds of fresh peaches fill one quart jar. A bushel (approximately 50 pounds) yields about 18-25 quart jars depending on how tightly you pack them.

How to Can Peaches at Home (Step-by-Step Water Bath Method)
Ingredients
Method
- Wash peaches thoroughly. Blanch in boiling water for 60 seconds, then transfer to ice water. Peel the skins off, halve, and remove pits.
- In a large pot, combine water and sugar. Bring to a boil, stirring until sugar dissolves.
- Pack peach halves into sterilized canning jars, cavity side down. Leave ½ inch headspace.
- Ladle hot syrup over the peaches. Remove air bubbles with a butter knife.
- Wipe jar rims clean. Place lids and screw on bands until fingertip tight.
- Place jars in a boiling water bath canner. Process pint jars for 25 minutes and quart jars for 30 minutes.
- Remove jars and let cool for 12-24 hours. Check seals, then store in a cool dark place for up to 1 year.
Nutrition
Notes
Choose peaches that yield slightly to pressure but aren't soft – they should feel like a ripe avocado. Overripe peaches will disintegrate during processing, while underripe ones won't develop that sweet, jammy syrup that makes home-canned peaches irresistible. After years of canning peaches, I've learned to add lemon juice directly to each jar, not just the blanching water. This prevents oxidation during storage and keeps that bright peach color for months, plus adds a subtle tartness that balances the syrup. Test your jar seals by pressing the center of the lid after cooling – it shouldn't pop back up or make a clicking sound. A properly sealed jar will have a slightly concave lid that stays firm when pressed, ensuring safe storage. Use light or medium syrup instead of heavy syrup because peaches release their own natural sugars during processing. Heavy syrup can make the final product cloyingly sweet and masks the fresh peach flavor you worked so hard to preserve.


Leave a Reply